 Rug tufting field guides
Start here · Beginner setup
What do you need for a first tufting setup besides the gun?
Use the matrix to check kit claims against the station you actually need. Then mark confirmed categories and enter only the prices you find.
A first setup needs a frame and cloth attachment, primary tufting cloth, yarn, adhesive, secondary backing, and basic trimming tools besides the gun. Confirm each category on the listing instead of counting items in a kit photo. Carving tools can wait until a surface problem gives you a reason to add one.
What does a tufting gun kit actually include?
A first setup needs a frame and cloth attachment, primary tufting cloth, yarn, adhesive, secondary backing, and basic trimming tools besides the gun. Confirm each category on the product listing instead of counting items in a kit photo. The frame must hold a usable cloth span, and cloth size should be checked against that span. Estimate yarn from a measured sample, then match adhesive to the backing materials and current instructions. Carving tools can wait until a surface problem gives you a reason to add one.
| Category | Kit photo may show | Confirm on listing | Still buy separately? |
|---|---|---|---|
| Gun | The machine itself. | Exact machine type, variant, mode, and power details. | Yes if the listing does not identify the machine you need. |
| Frame and attachment | A frame, strips, or hardware. | Usable span and every attachment piece. | Yes if the frame or mounting method is missing or undersized. |
| Primary cloth | A cloth piece or roll. | Cloth type, usable dimensions, and quantity. | Yes if the selected piece cannot cover the frame span. |
| Yarn | One or more colors. | Color, weight, and amount for the planned sample. | Yes if the listing does not cover the project estimate. |
| Adhesive and backing | A container, backing, or neither. | Product, substrate, application instructions, and amount. | Yes if the backing system is not complete. |
| Finishing and safety | Scissors or other tools. | Basic trimming tool and product-required safety supplies. | Buy the basic items; wait on extra carving tools until the job is defined. |
Kit contents vary by listing and selected variant. Copy the exact contents into the worksheet below, then price the gaps instead of treating the bundle photo as a complete station.
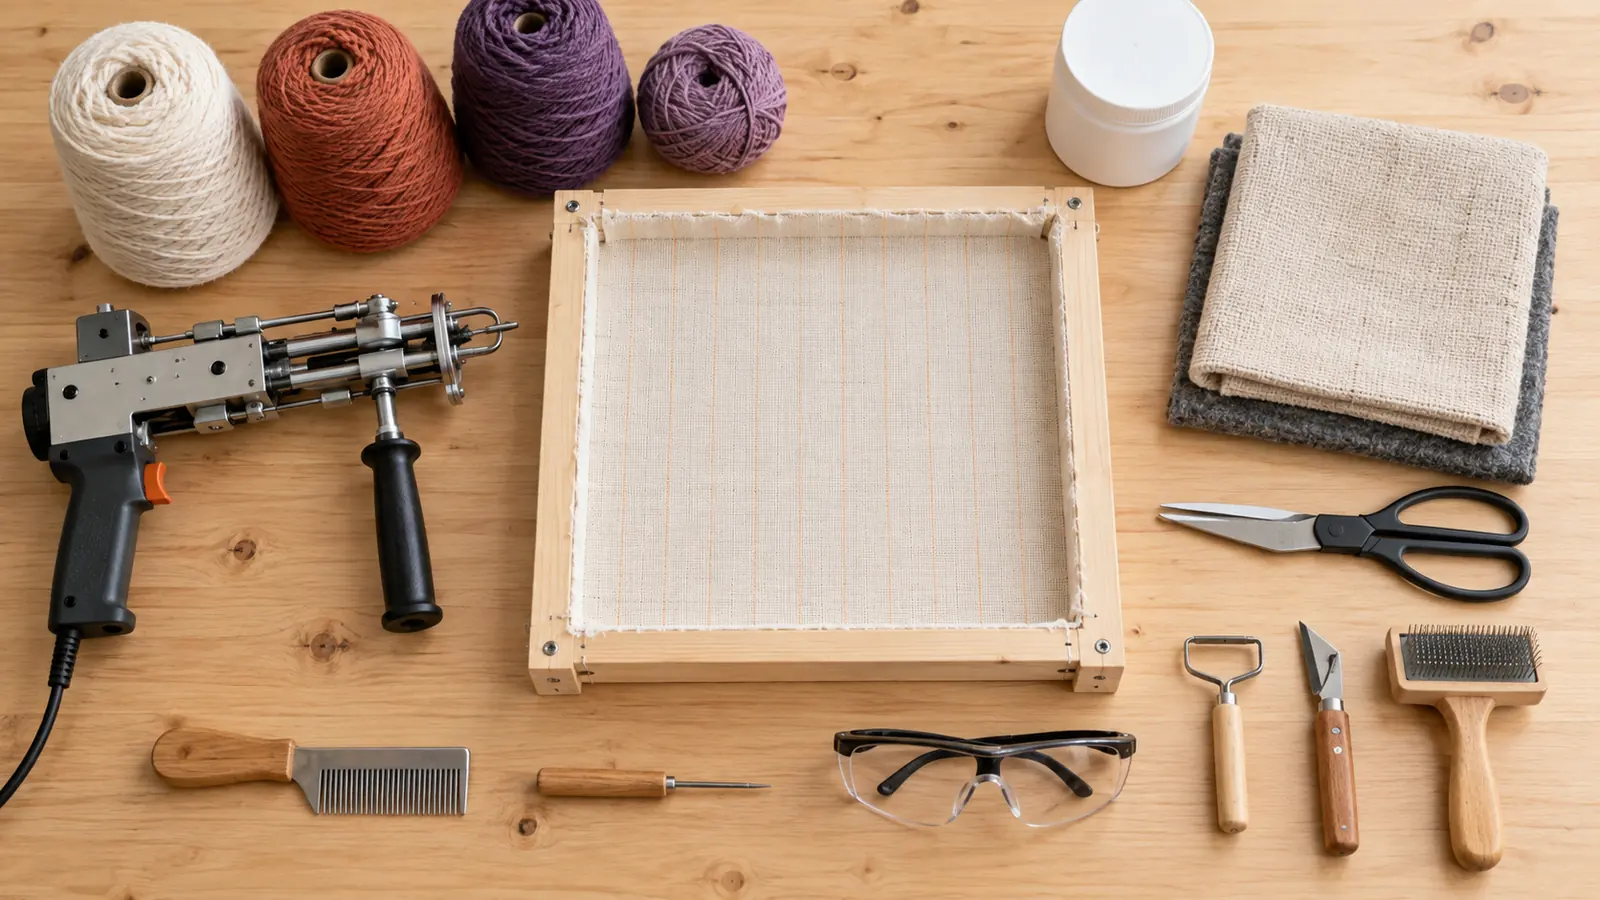
Use the included-versus-missing worksheet
Mark what you own or have confirmed in the kit contents. Use the unchecked items to compare the total cost. Carving tools belong in the later-finish list; the checklist measures coverage, and the missing categories build the shopping total. Your selections last until you reload this page.
What will the full setup cost?
Enter the current amount for each category from the listings you are considering. This worksheet does not supply prices. Blank rows stay out of the total, so an incomplete entry is not a complete station budget.
Match the frame and cloth dimensions
Plan the cloth from the mounted span. Measure the part of the frame the cloth must cover, then add the margin required by your mounting method. The seller’s usable width and purchase increment determine how much cloth the order yields. For DIY gripper direction and spacing, see the frame and tack strip guide.
Check the cloth before you add yarn
Use the cloth-size worksheet with your own frame span, mounting margin, cloth dimensions, and number of blanks. It compares simple rectangular layouts and shows when the cloth is too narrow.
Keep the purchase sequence practical
- Copy the exact kit contents into the worksheet instead of assuming a photo shows every item.
- Measure the frame span and confirm the primary cloth can cover it with the margin your mounting method needs.
- List yarn and finishing materials separately so you can price the complete station.
- Keep projectors, yarn winders, carving guides, and upgrades in a later-purchase list until a specific limitation calls for one. Browse the tool recommendations when that limitation appears; use the yarn feed guide if the supply is snagging. For projection, check room distance and image orientation with the projector setup checklist.